Outdoor Pizza Oven Project at a Cottage
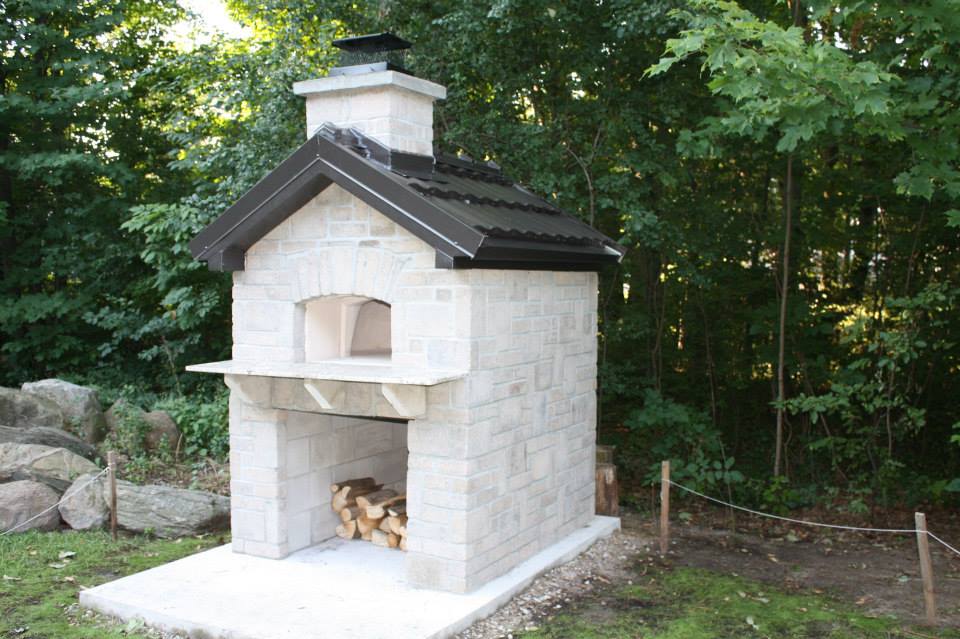
This is a traditional outdoor pizza oven project involving our popular outdoor pizza oven kit "Volta". We are also using a few upclose pictures from another project with the Volta oven to better show some of the building steps.
Step 1.
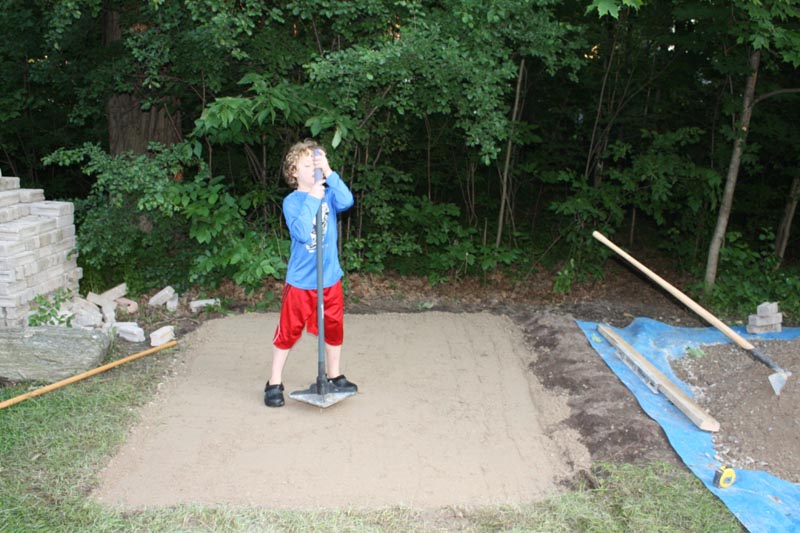
Dig the ground for foundation. Measure the area that you will need (if you are using a 40" oven kit with stone or brick veneer a good estimated area is 60x60), dig around the perimeter first, then over the entire area. Make it 6-8" deep. Make a frame from 2x6s on all 4 sides in the ground - basically a retaining wall. Fill up with gravel and sand. Flatten the sand. Put kids to good use, after all they will likely be eager pizza eaters when the oven is ready!
Step 2.
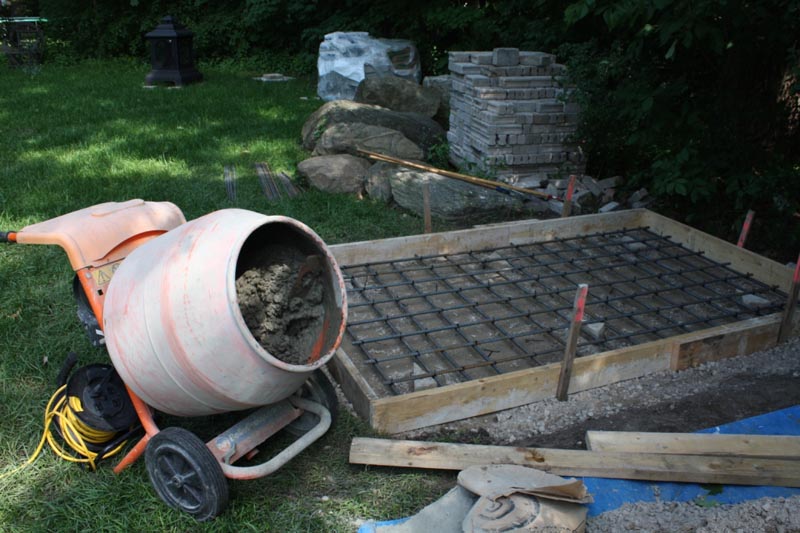
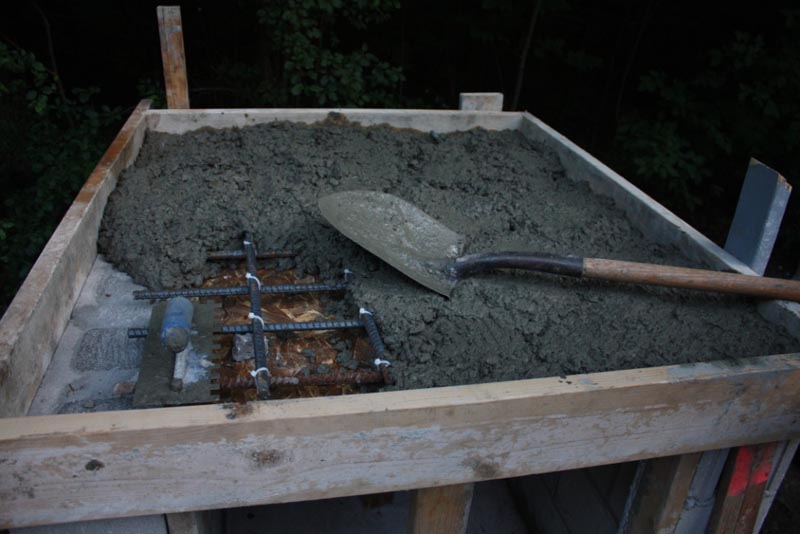
Now prepare another frame for your footing. Build a timber frame from 2x4s, place metal rebars inside for reinforcement. Fill up with cement. Do NOT use vermiculite, perlite, r insulating cement for this slab. This slab is not exposed to heat and it needs to be as strong as possible so use regular Portland cement only or something similar. Before the concrete dries up you will want to make sure that it's completely level. You can do this with the help of a 2x4 - slide it continuously from left to right across the entire footing to make sure no cement sticks out above the timber frame. When you are finished cover cement with plastic and leave to dry for at least a week.
Step 3.
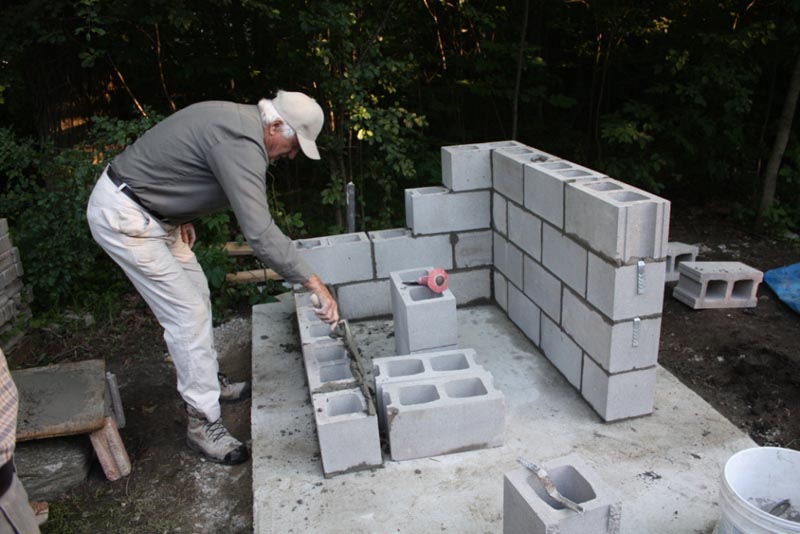
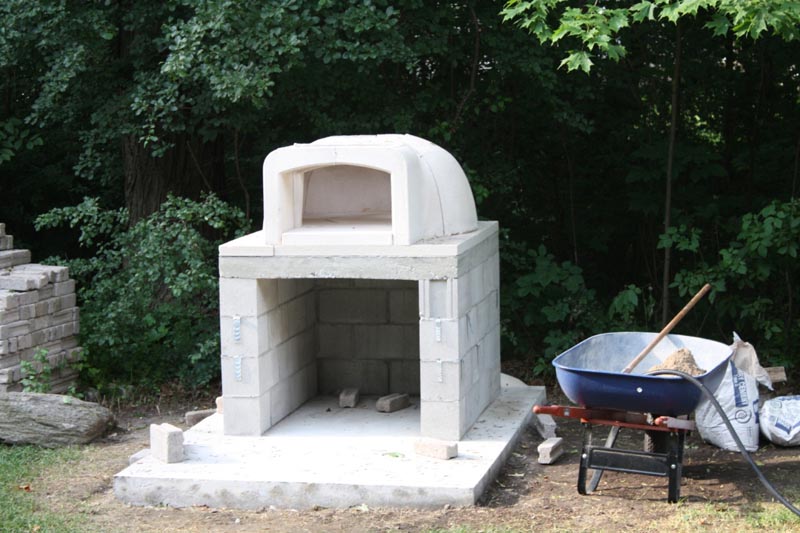
Once footing is dry you are ready to build your base! The base is usually built from cinder blocks which you can later decorate with tiles, bricks, or stone. Cinder blocks should be reinforced with upright metal rebars (just place inside, make sure each rebar penetrates all the layers of your base - usually 4 high) - and then fill in all cinder blocks with cement. This is the same way retaining walls are built. You can also make a base from pavers or bricks but it will take longer since more mortaring is involved - bricks are smaller. And it will also cost considerably more.
Step 4.
Once you are finished with the cinder block base you need to create the weight bearing slab - this is the surface upon which your oven is going to sit. This will be somewhat exposed to heat (though still covered by the main hearth insulation - mineral board) and hence you may want to mix vermiculite or perlite with Portland cement in a 5:1 ratio (5 perlite: 1 Portland). You can also use insulating cement for this slab. Put plywood on top of your 3 base walls, support the plywood in the middle with wood or more cinder blocks (keep in mind - you will need to remove the supports once the slab cures) and make a frame from 2x6s similar to the frame in the ground, insert metal rebars and pour your mix, by now this should seem easy after making an identical footing slab.
Step 5.
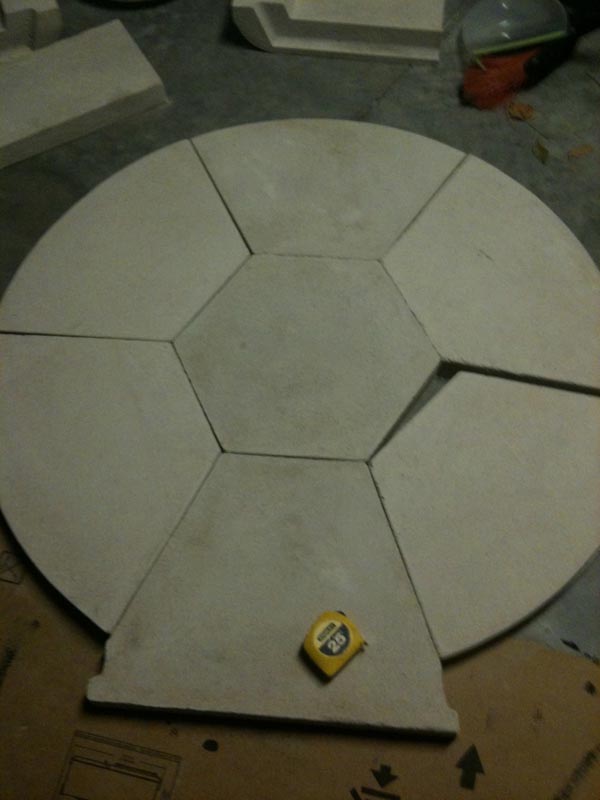
Wait for the slab to cure - another week. Once cured place mineral board insulation on top, this takes about 2 minutes. You should use at least a 2" thick board, better 3" or just double up on the 2" to make it 4". You will not regret this and you will liekly not have another chance to do this without taking the entire oven apart. Assemble the oven floor on top of the mineral board - another few minutes.
Step 6.
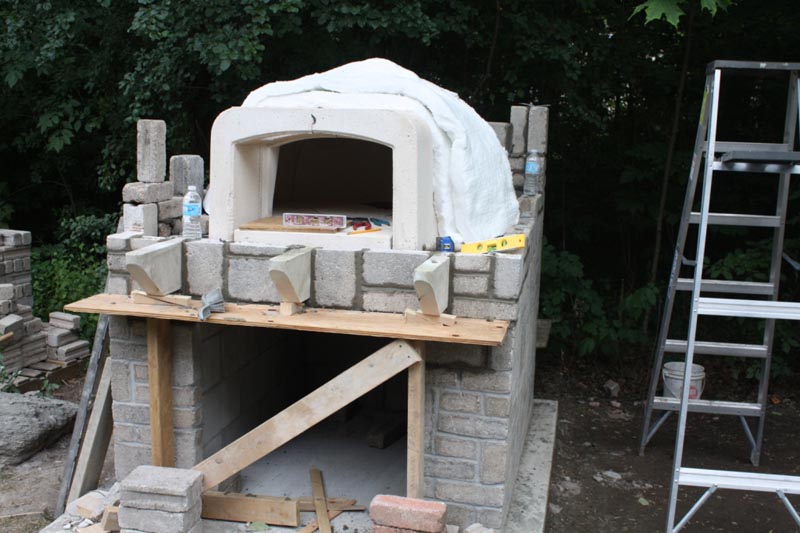
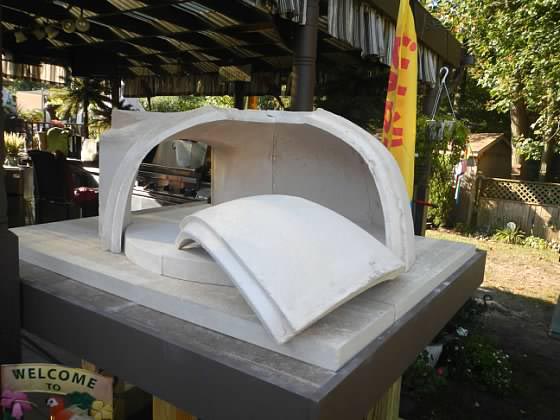
Assemble the dome. No mortar is needed, the Volta oven dome interlocks, on the pictures below you can see the oven sitting on rectangular pieces of mineral board insulation.


Step 7.
Wrap the oven in ceramic insulation. You need 3" of insulation all around, this usually means 3 layers 1" each. Continue building your walls up from the base slab to cover the entire oven (unless you are applying stucco or otherwise maintaining the exterior dome shape).
Step 8.
Volta has an arch for chimney connection in front of the oven door (landing area). If you are using a kit which doesn't have one then one has to be built from bricks. Attach chimney anchor plate to Volta arch and simply twist lock your chimney to it (make sure to buy matching ones, many suppliers sell them as a package). Ovens with 30"-36" cooking area diameter are fine with a 6" chimney, for 40"-48" ovens you may want to try 8" but if you use 6" it will still be fine since in any case the oven is outdoor. But if you are building your oven indoor definitely use 8" for 40" and larger oven.
Everything else is mason work according to your design, you are finished with the oven itself. Voila!
